When the installation screen comes press Enter to Start the installation

Click next to Proceed
Click next to Proceed
Click next to Proceed

Here select Manual Partition with Disk Druid & Click next to ProceedClick YES to Proceed
Click New and select /boot

Select /boot here
/boot 204 MB (select “Forced to be Primary partition”)
Now Select SWAP
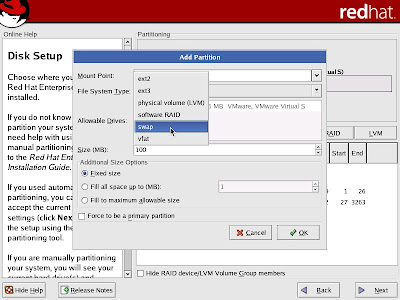
1026 MB (select “Forced to be Primary partition”) Double size of RAM
Now select / (root)
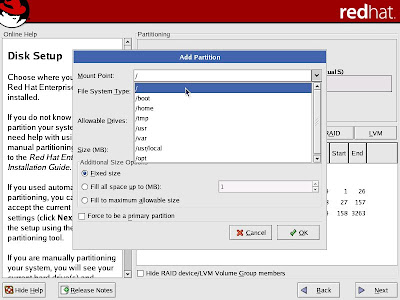
/ select "Fill to maximum allowed size" and select " to be Primary partition"
Click next to Proceed
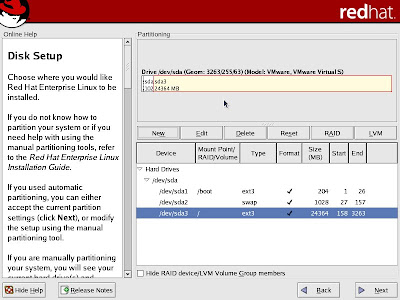
Click next to Proceed
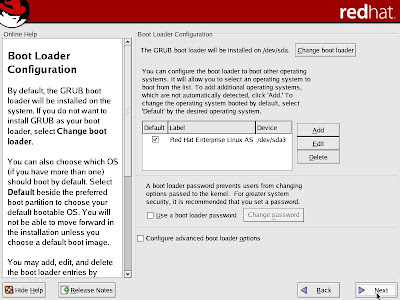
You can Configure IP by Clicking EDIT or it can be set later also &
Click next to Proceed
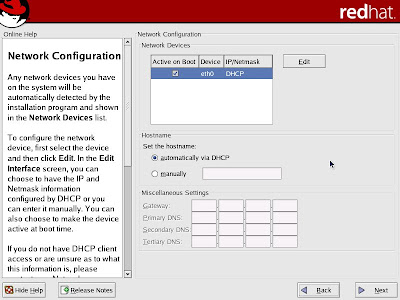
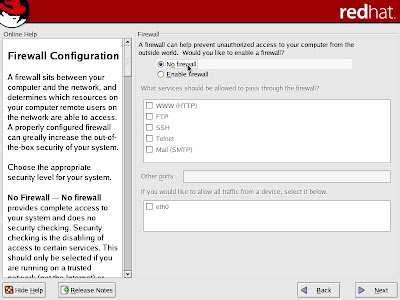
Select No Firewall for practicing purpose &
Click next to Proceed
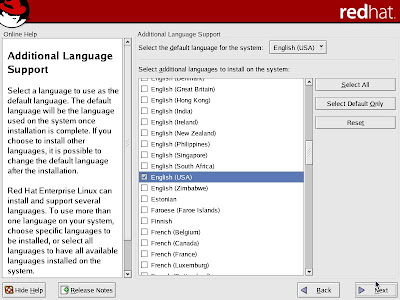
Click next to Proceed
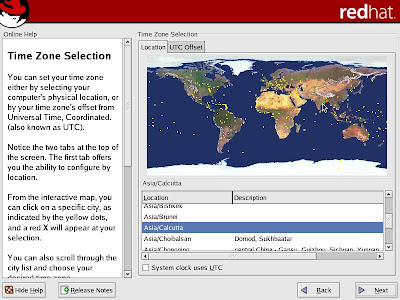
Select Asia/Calcutta & Click next to Proceed
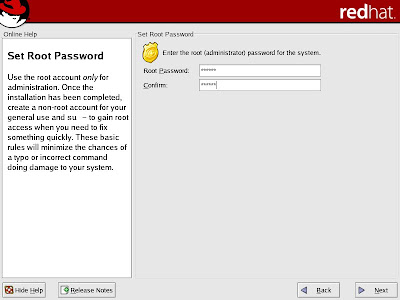
Set your password here & Click next to Proceed
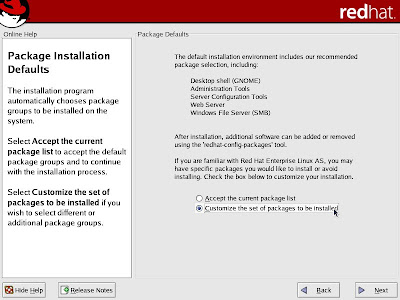
Select Customize the set of Packages to be installed & Click next to Proceed
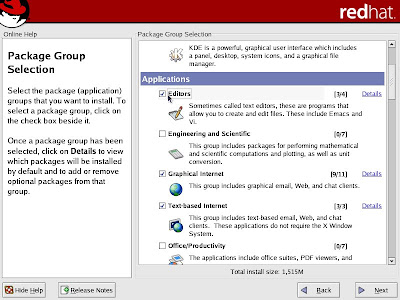
Here you need to select the following:
Select:
1. Editors
2. FTP Server
3. Development Tools
4. Kernel Development
5. System Tools
Deselect:
1. Text-based Internet
2. Web Server (If it is not necessary for you)
& Click next to Proceed
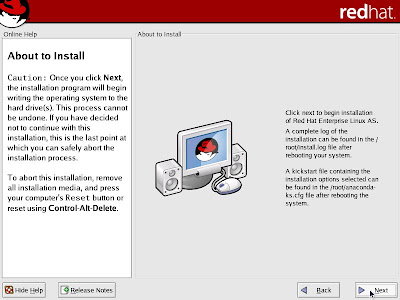
Click Next to Proceed
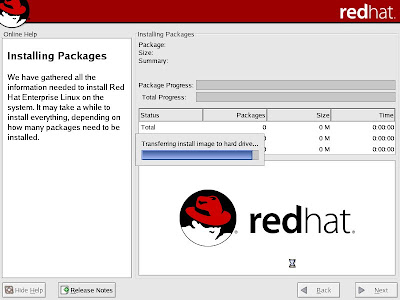
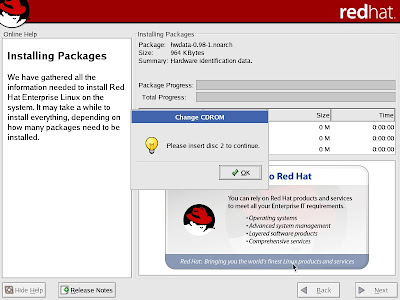
Insert Disk 2 than press OK
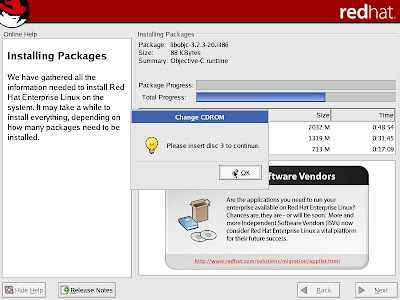
Insert Disk 3 than press OK
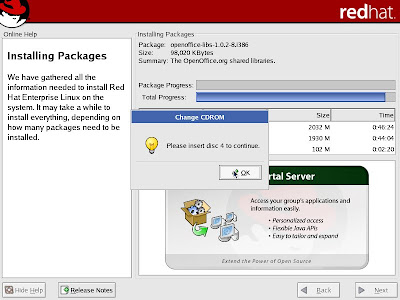
Insert Disk 4 than press OK
In the end it will ask for disk 1, Insert Disk 1 than press OK to proceed
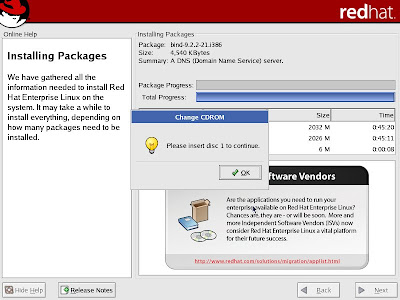
Click Next to Proceed
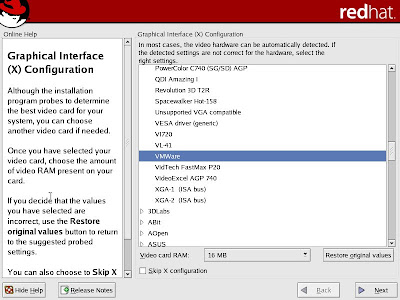
Click Next to Proceed
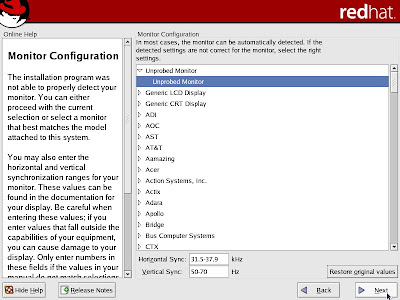
Click Next to Proceed
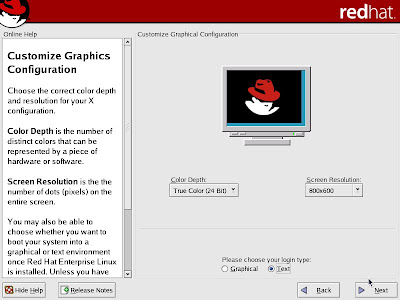
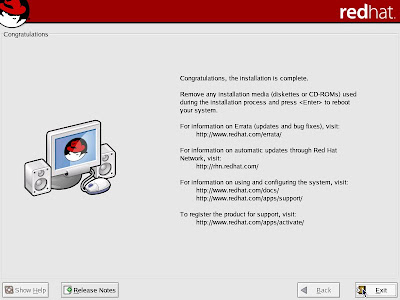
Click End to Complete installation & it will Restart your system.
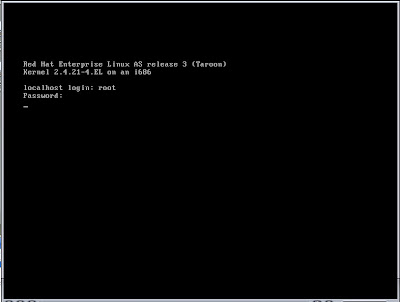
Here Enter root & Give password which you have set
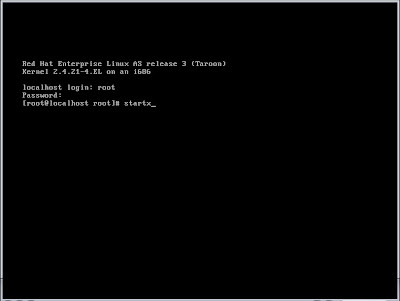
than type Startx
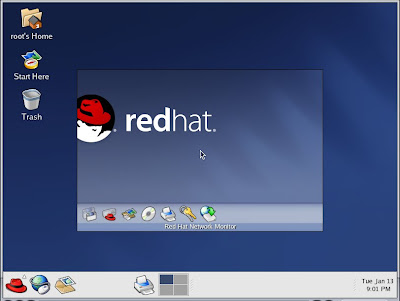
Enjoy :)
Video Tutorials
Video Tutorials continued (Part 2)


No comments:
Post a Comment